Now Available: Buy now, pay over time with Affirm – as low as 0%.
Refresh and Renew: Save 20% on select vanities, bidet seats, and toilets through 3/31/25.
Free Shipping: On parcel orders of +$49 for account holders.
Multi-Room Collections
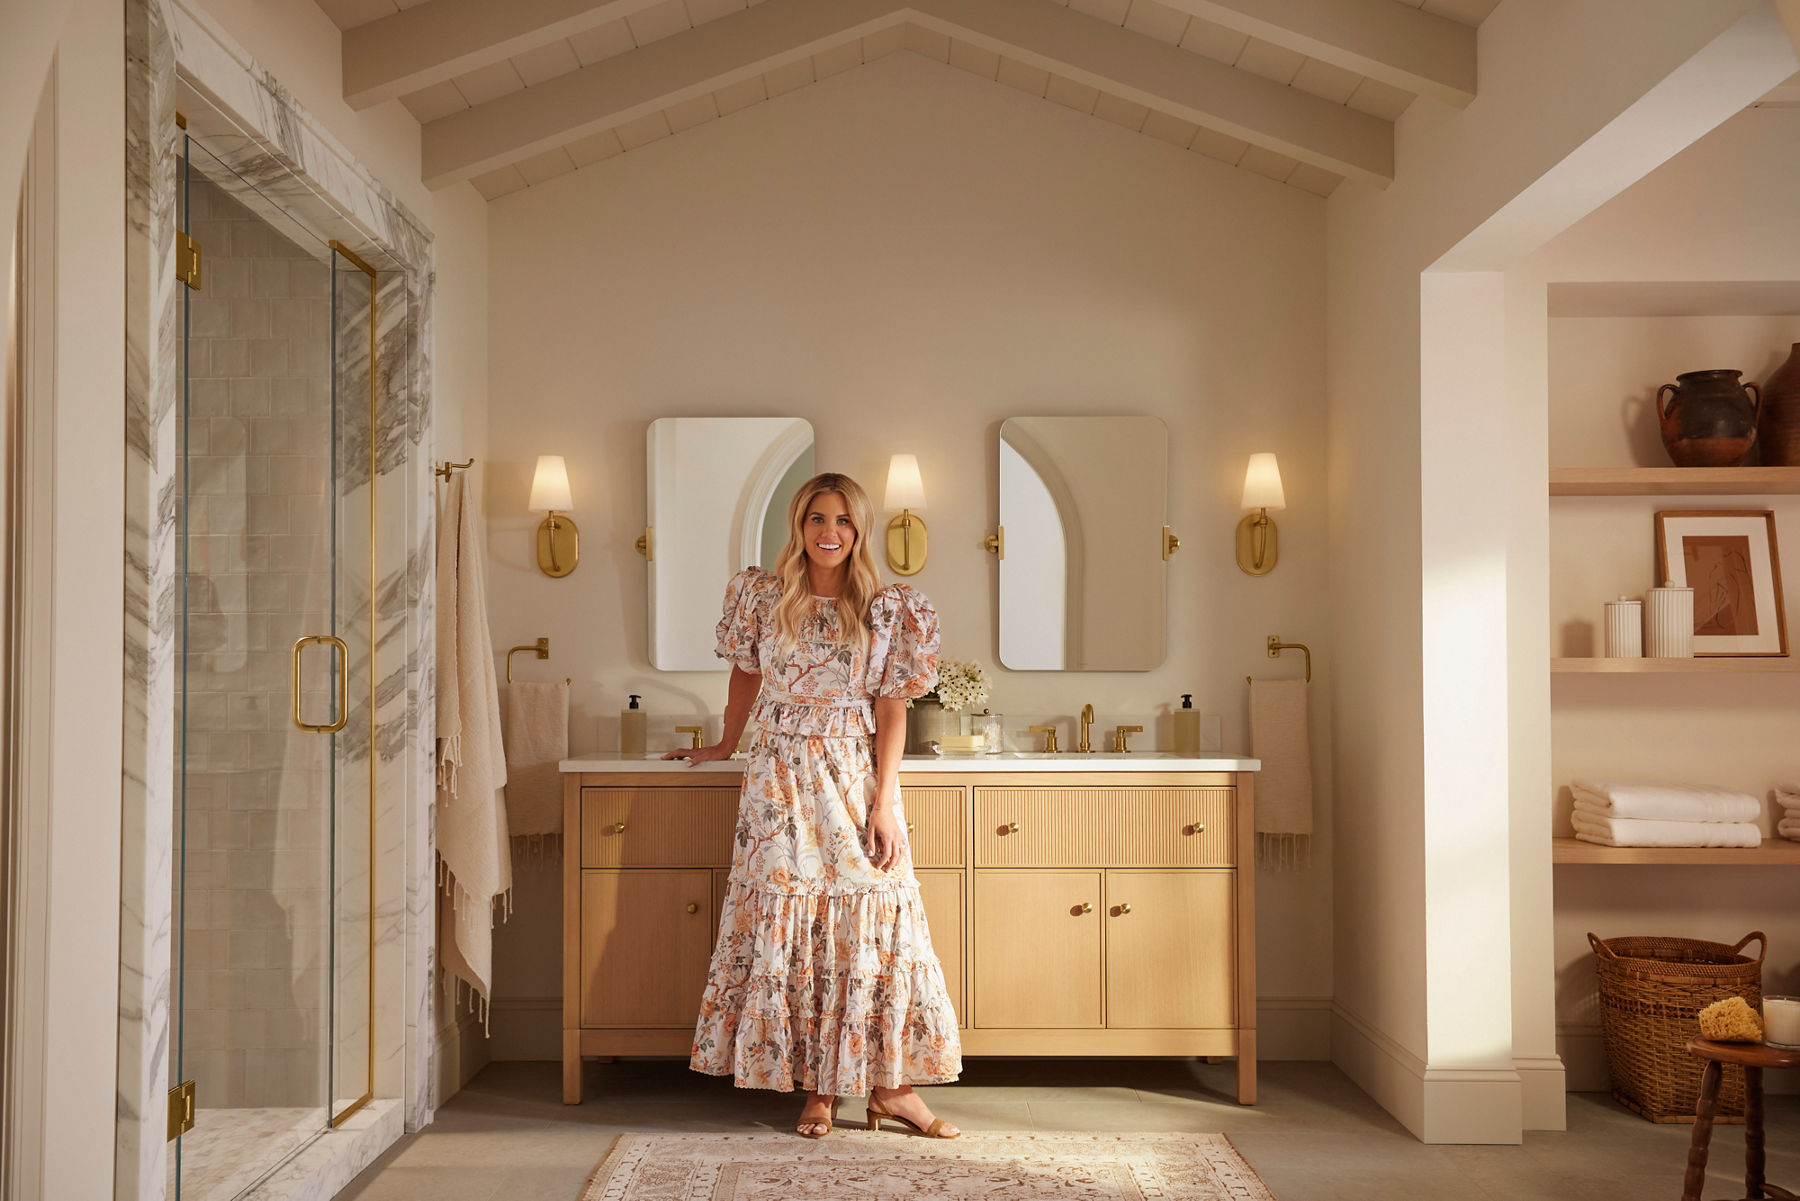
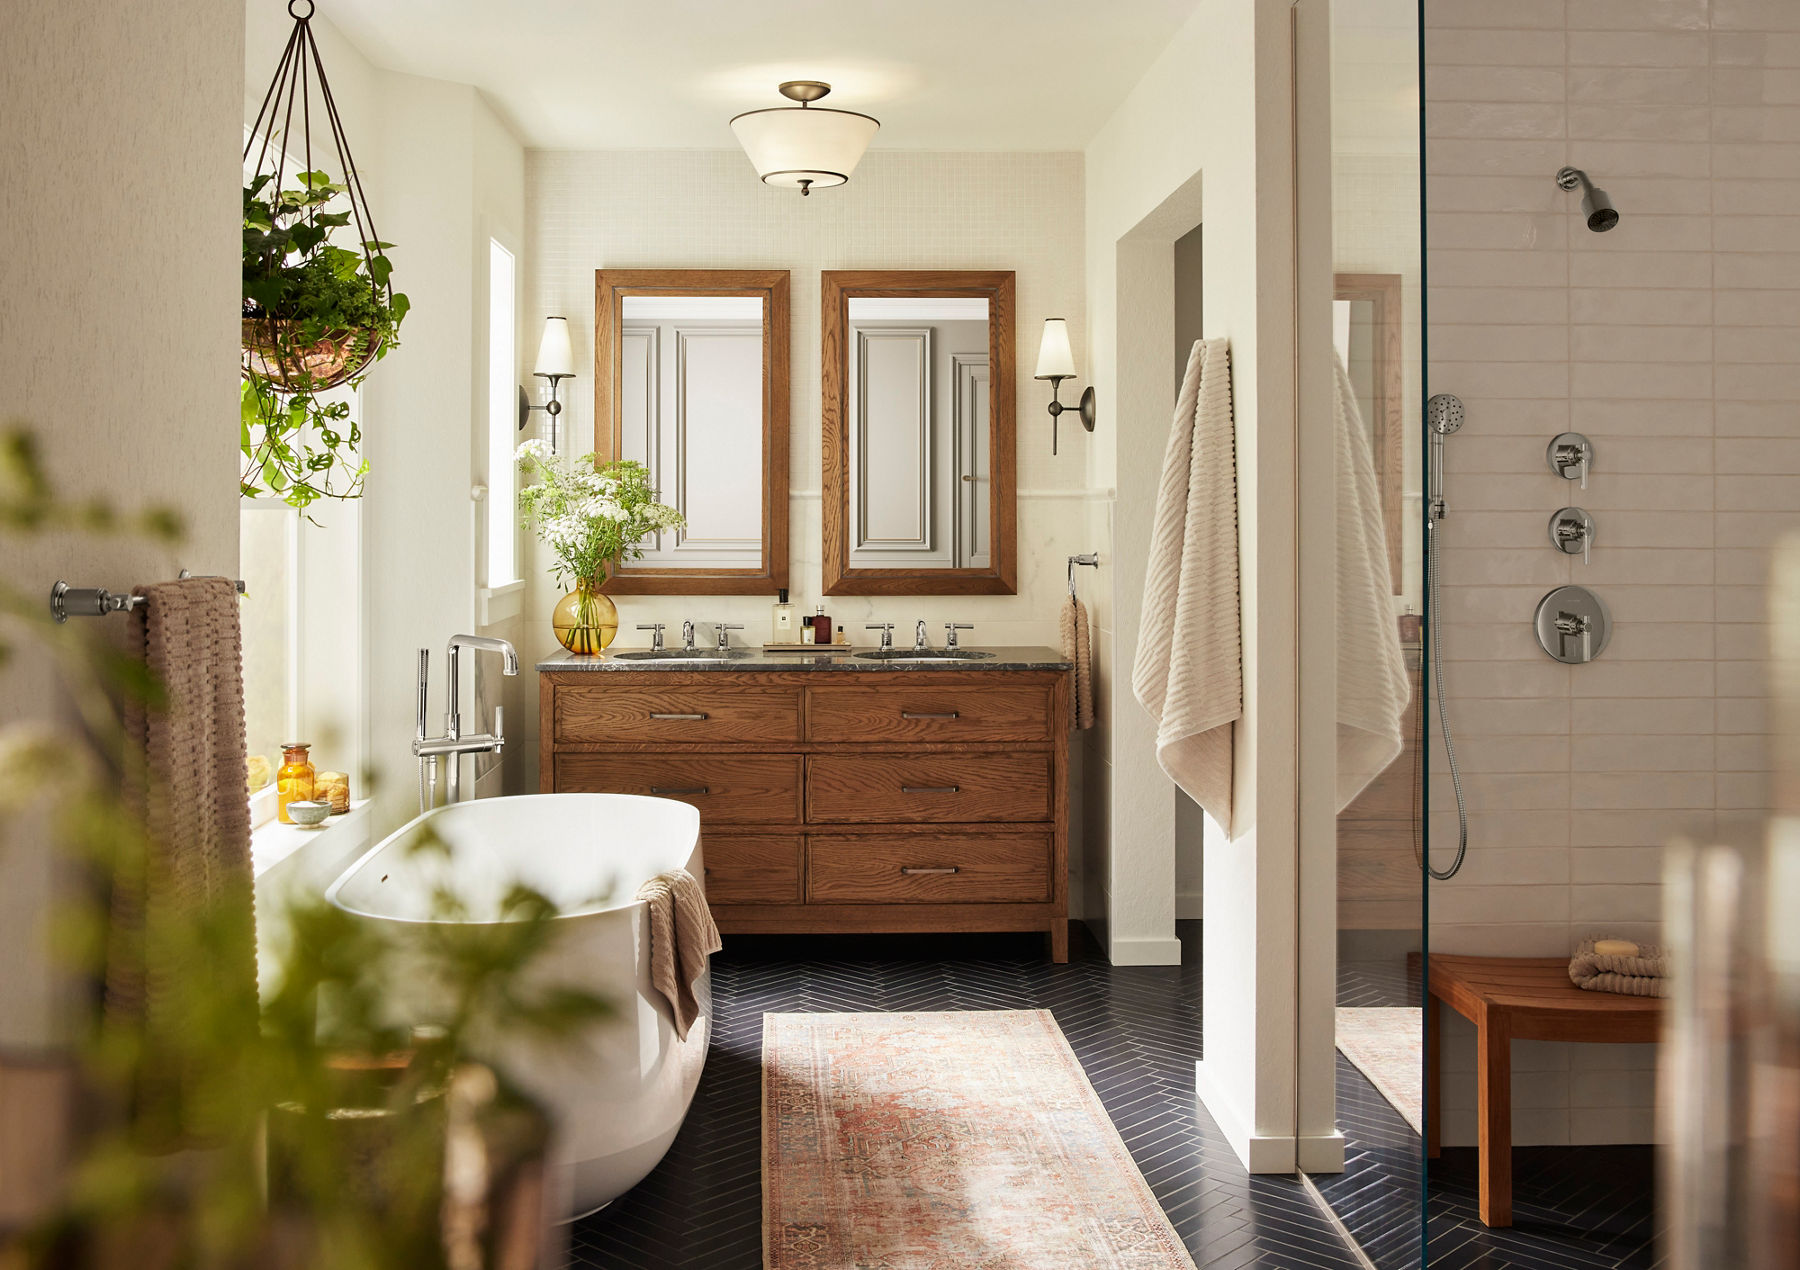
Kohler x Studio McGee
Artifacts
Components
Simplice
Purist
Tone
Memoirs
Occasion
Featured Collections
Bathroom Collections
Veil
Parallel
Kathryn
Tresham
Composed
Statement
Anthem
Devonshire
Brazn
Kitchen Collections
Crue
Graze
Smart Home
Smart Showers
Smart Toilets
Smart Toilet Seats
Smart Baths
Smart Kitchen Faucets
Smart Water Management
Cast Iron
Cast Iron Baths
Cast Iron Bathroom Sinks
Cast Iron Kitchen Sinks
Artist Editions
Sustainable Products
Shop Anthem
Shop Components
Timeless designs for the kitchen and bathroom.
Bathroom Sink Faucets
Widespread Faucets
Single Control Faucets
Centerset Faucets
Wall Mounted Faucets
WaterSense® Faucets
Mix-n-Match Faucets
Shop All Bathroom Sink Faucets
Bathtub & Shower Faucets
Bathtub Faucets
Bathtub & Shower Trim Kits
WaterSense® Bath & Shower Faucets
Bathroom Sinks
Artist Edition Sinks
Undermount Sinks
Drop In Sinks
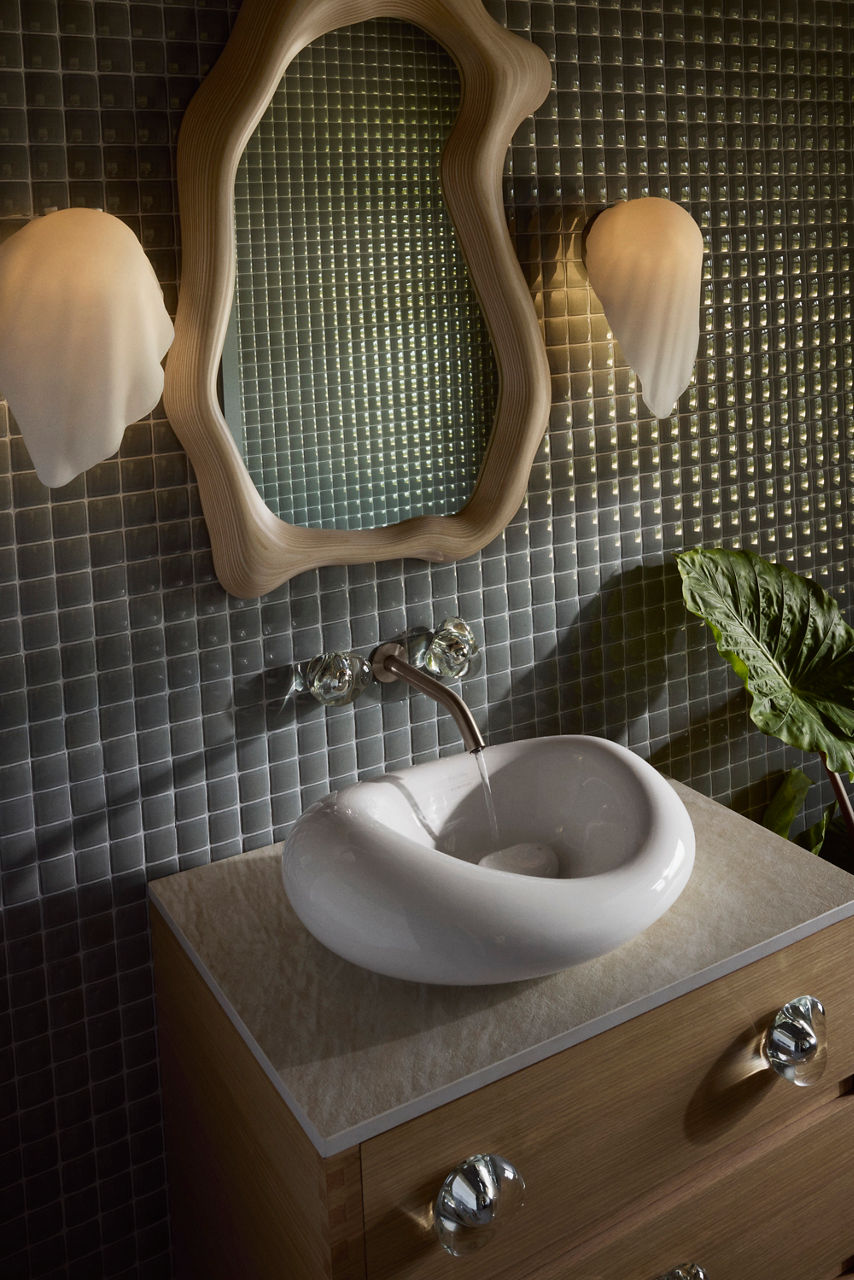
Vessel Sinks
Pedestal Sinks
Console Sinks
Wall Mounted Sinks
Shop All Bathroom Sinks
Accessories
Towel Bars
Toilet Paper Holders
Shop All Accessories
Toilets
One-Piece Toilets
Two-Piece Toilets
Self-Cleaning Toilets
Tall Toilets
Chair Height Toilets
WaterSense® Toilets
Shop All Toilets
Toilet Seats
Bidet Seats
Standard Toilet Seats
Shop All Toilet Seats
Bathtubs
Freestanding Bathtubs
Alcove Bathtubs
Drop-In Bathtubs
Undermount Bathtubs
Hydrotherapy Bathtubs
Bath Shower Doors
Bathtub Drains
Bath Accessories
Shop All Bathtubs
Showers
Shower Heads
WaterSense® Shower Heads
Shower Valves & Trim
Body Sprays
Steam Showers
Shower Doors
Shower Bases
Shower Fittings
Shower Drains
Shower Filters
Bathroom Vanities
Vanities With Tops & Hardware
Vanities Without Tops & Hardware
Countertops & Backsplashes
Vanity Sink Tops
Vanity Knobs & Pulls
Linen Towers & Cabinets
Console Tables
Vanity Accessories
Wall Cabinets
Shop All Vanities
Mirrors & Medicine Cabinets
Bathroom Mirrors
Lighted Medicine Cabinets
Recessed Medicine Cabinets
Surface Mount Medicine Cabinets
Mirror & Medicine Cabinet Hardware
Shop All Mirrors & Medicine Cabinets
Bathroom Exhaust Fans
Tile
Cleaners
Shop Smart Toilets
Shop Bidet Seats
Discover Full-Body Radiance
Kitchen Faucets
Semi Pro Faucets
Pull Down Faucets
Pull Out Faucets
Bridge Faucets
Bar Faucets
Pot Fillers
Beverage Faucets
Commercial Kitchen Faucets
Shop All Kitchen Faucets
Kitchen Sinks
Cast Iron Sinks
Stainless Steel Sinks
Neoroc Sinks
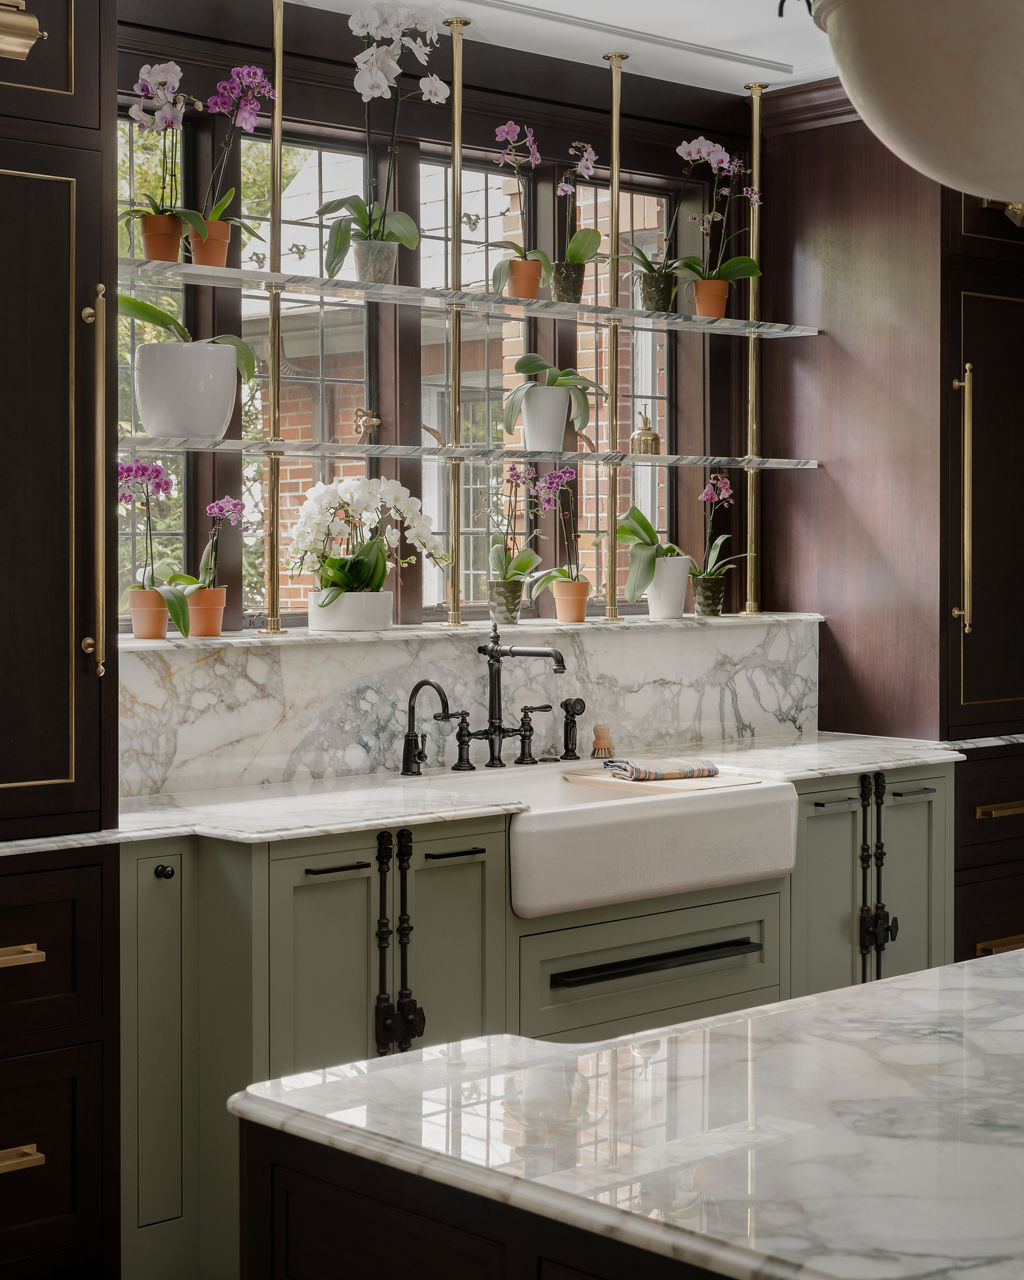
Farmhouse Sinks
Workstation Sinks
Shop All Kitchen Sinks
Garbage Disposals
Water Filtration
Replacement Filters
Water Filtration Systems
Trash Cans
Sink Racks & Baskets
Cutting Boards & Collanders
Sink Strainers & Disposal Flanges
Soap Dispensers
Sidesprays
Escutcheons
Cleaning & Organizing
Shop Strive Kitchen Sinks
Shop Riverby Kitchen Sinks
The new shape of modern.
Lighting
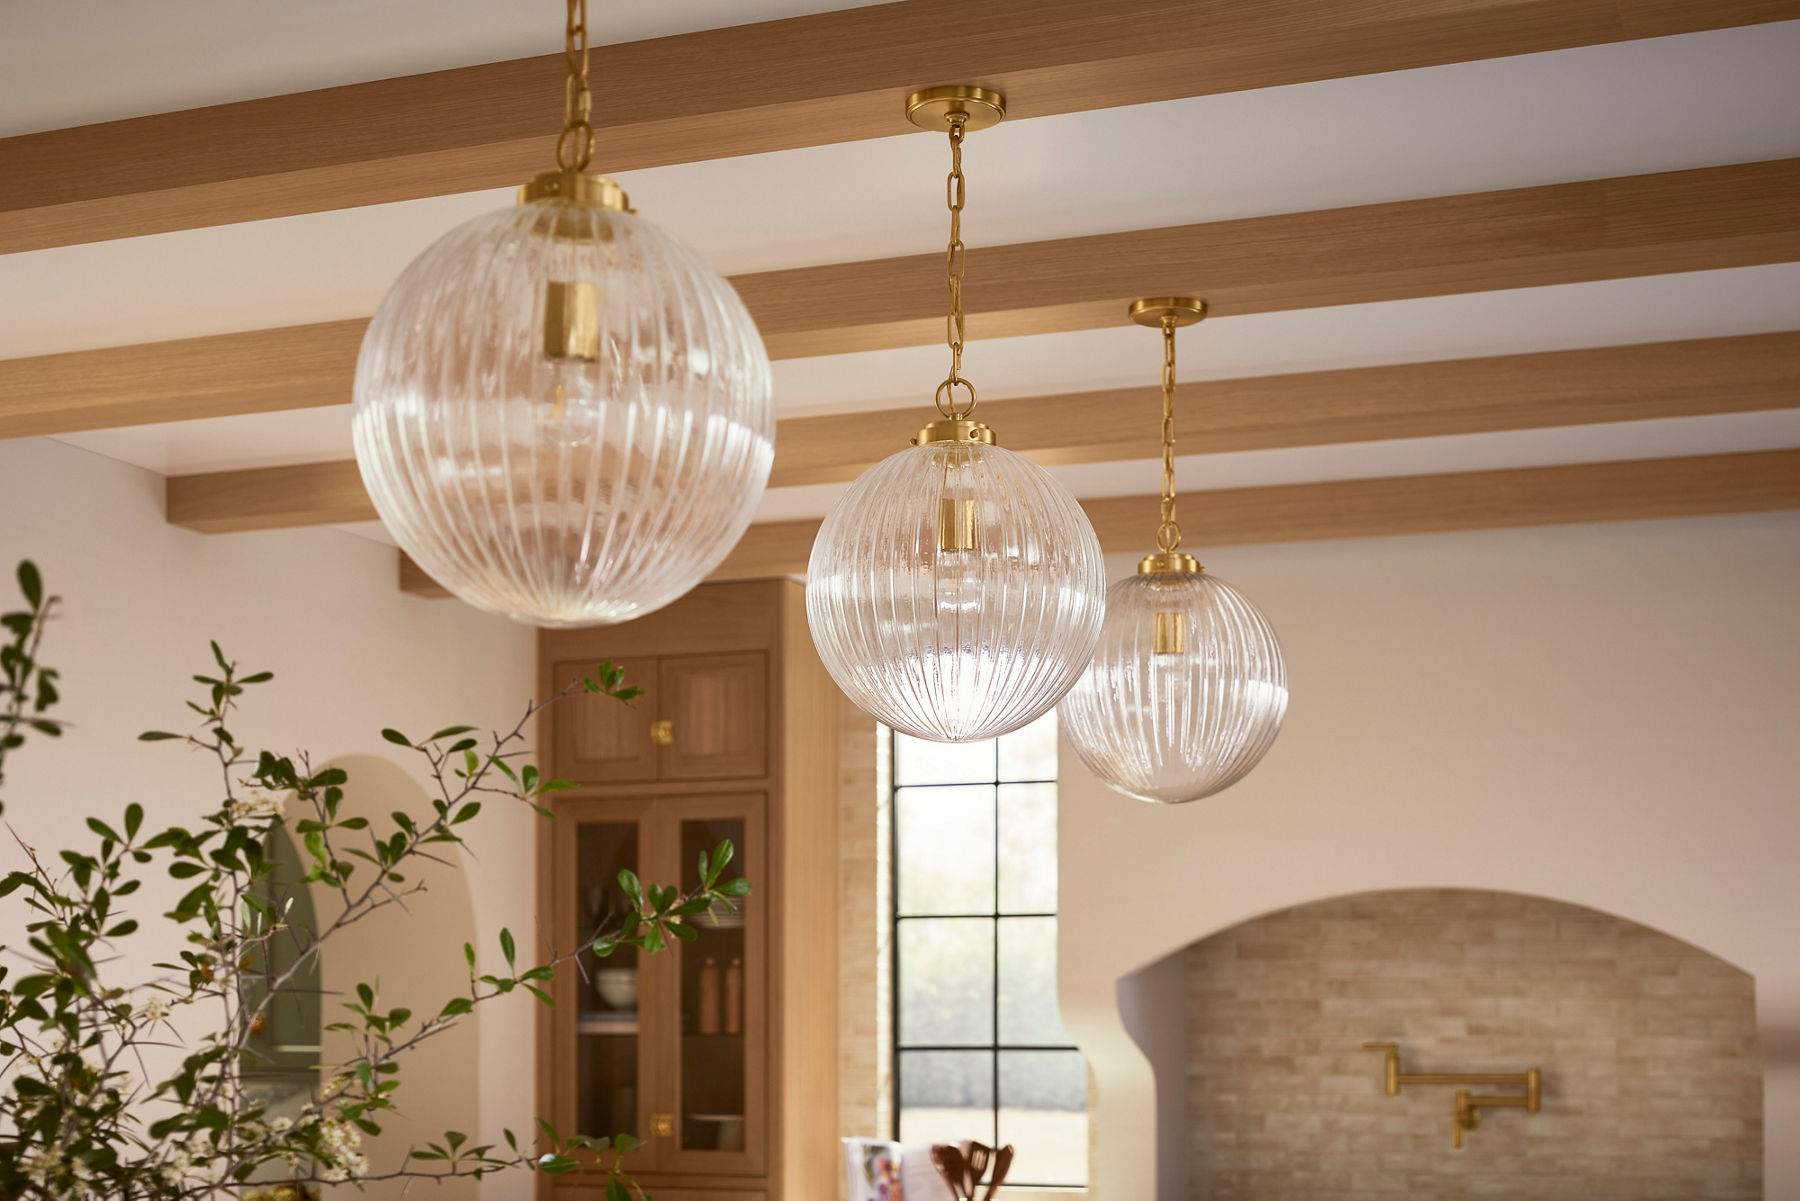
Pendant Lights
Chandeliers
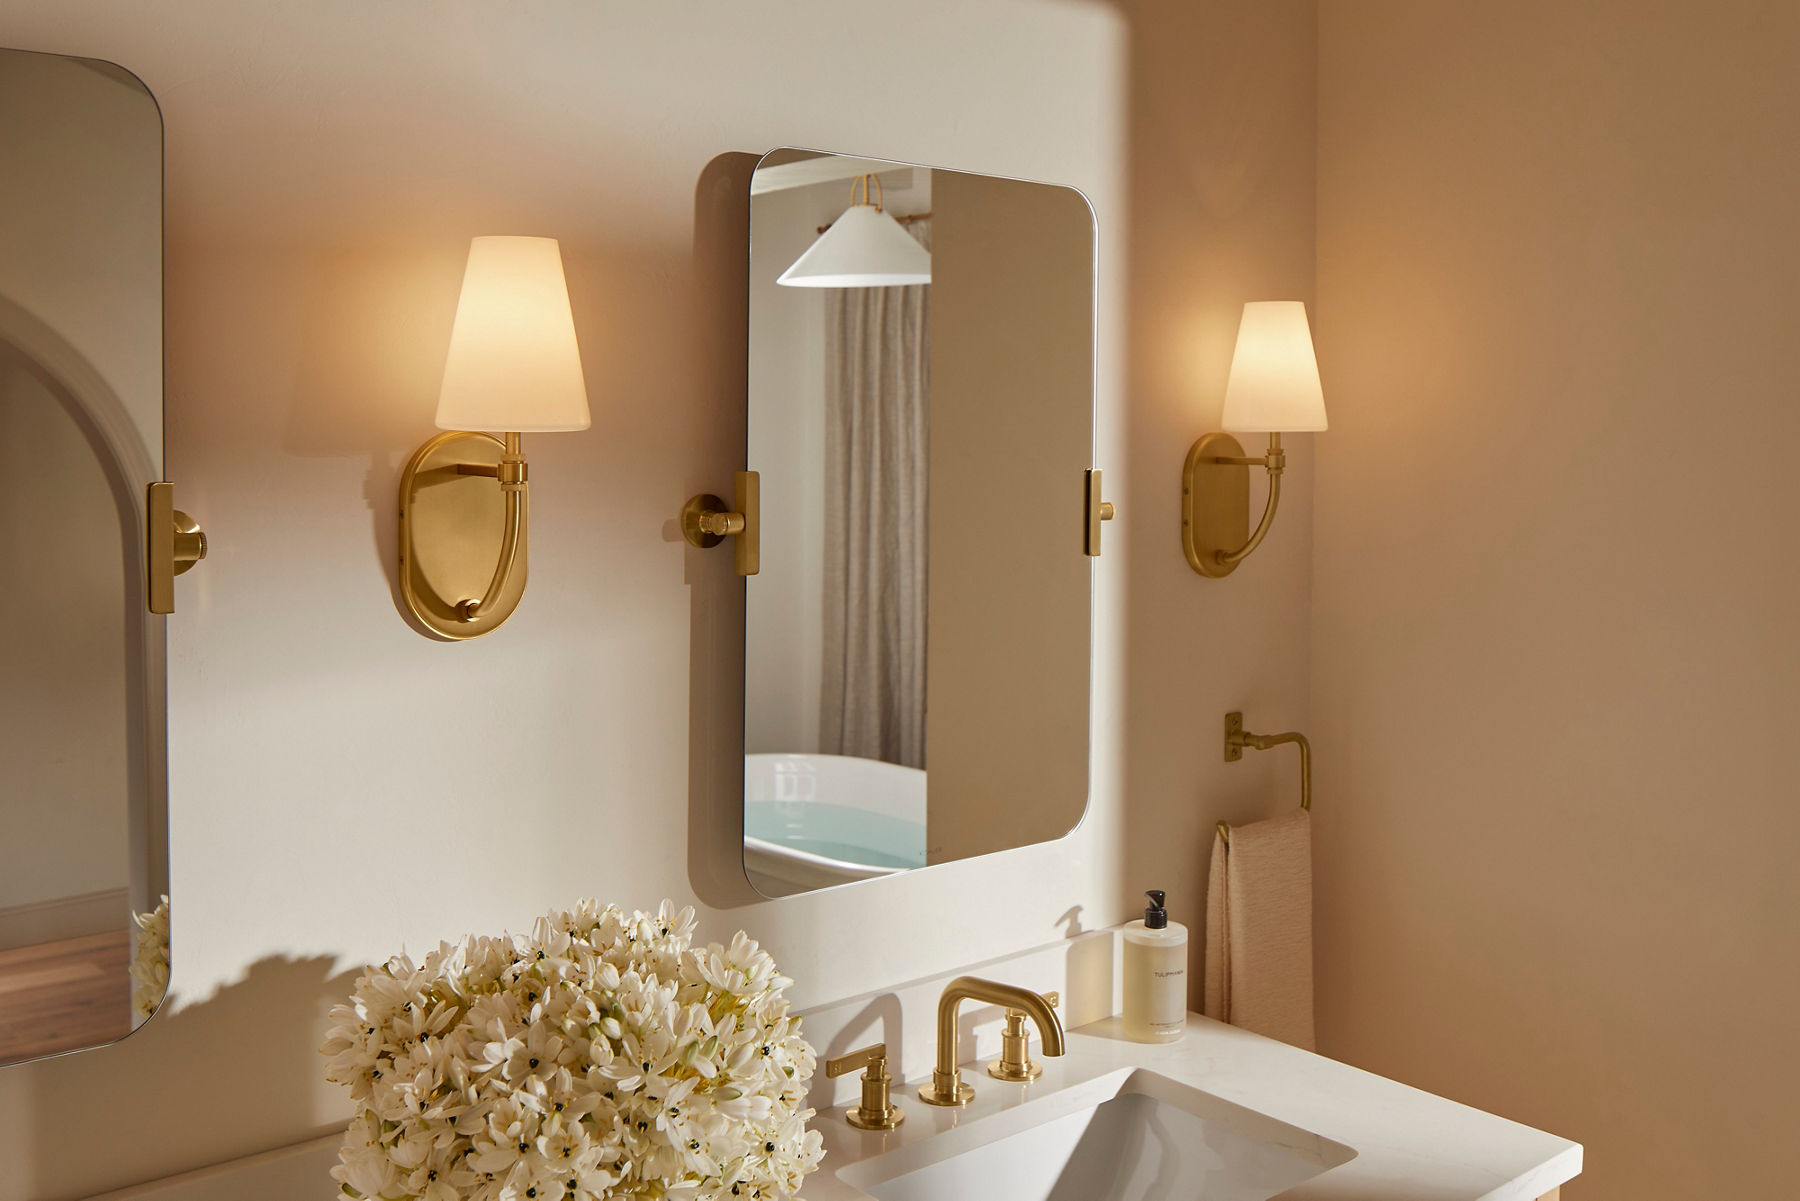
Sconces
Flush Mount Lights
Shop All Lighting
Shop Hint Lighting
Shop Crue Lighting
Shop Jabot Lighting
Glamour Meets Industrial Chic
Reimagine Vintage Charm
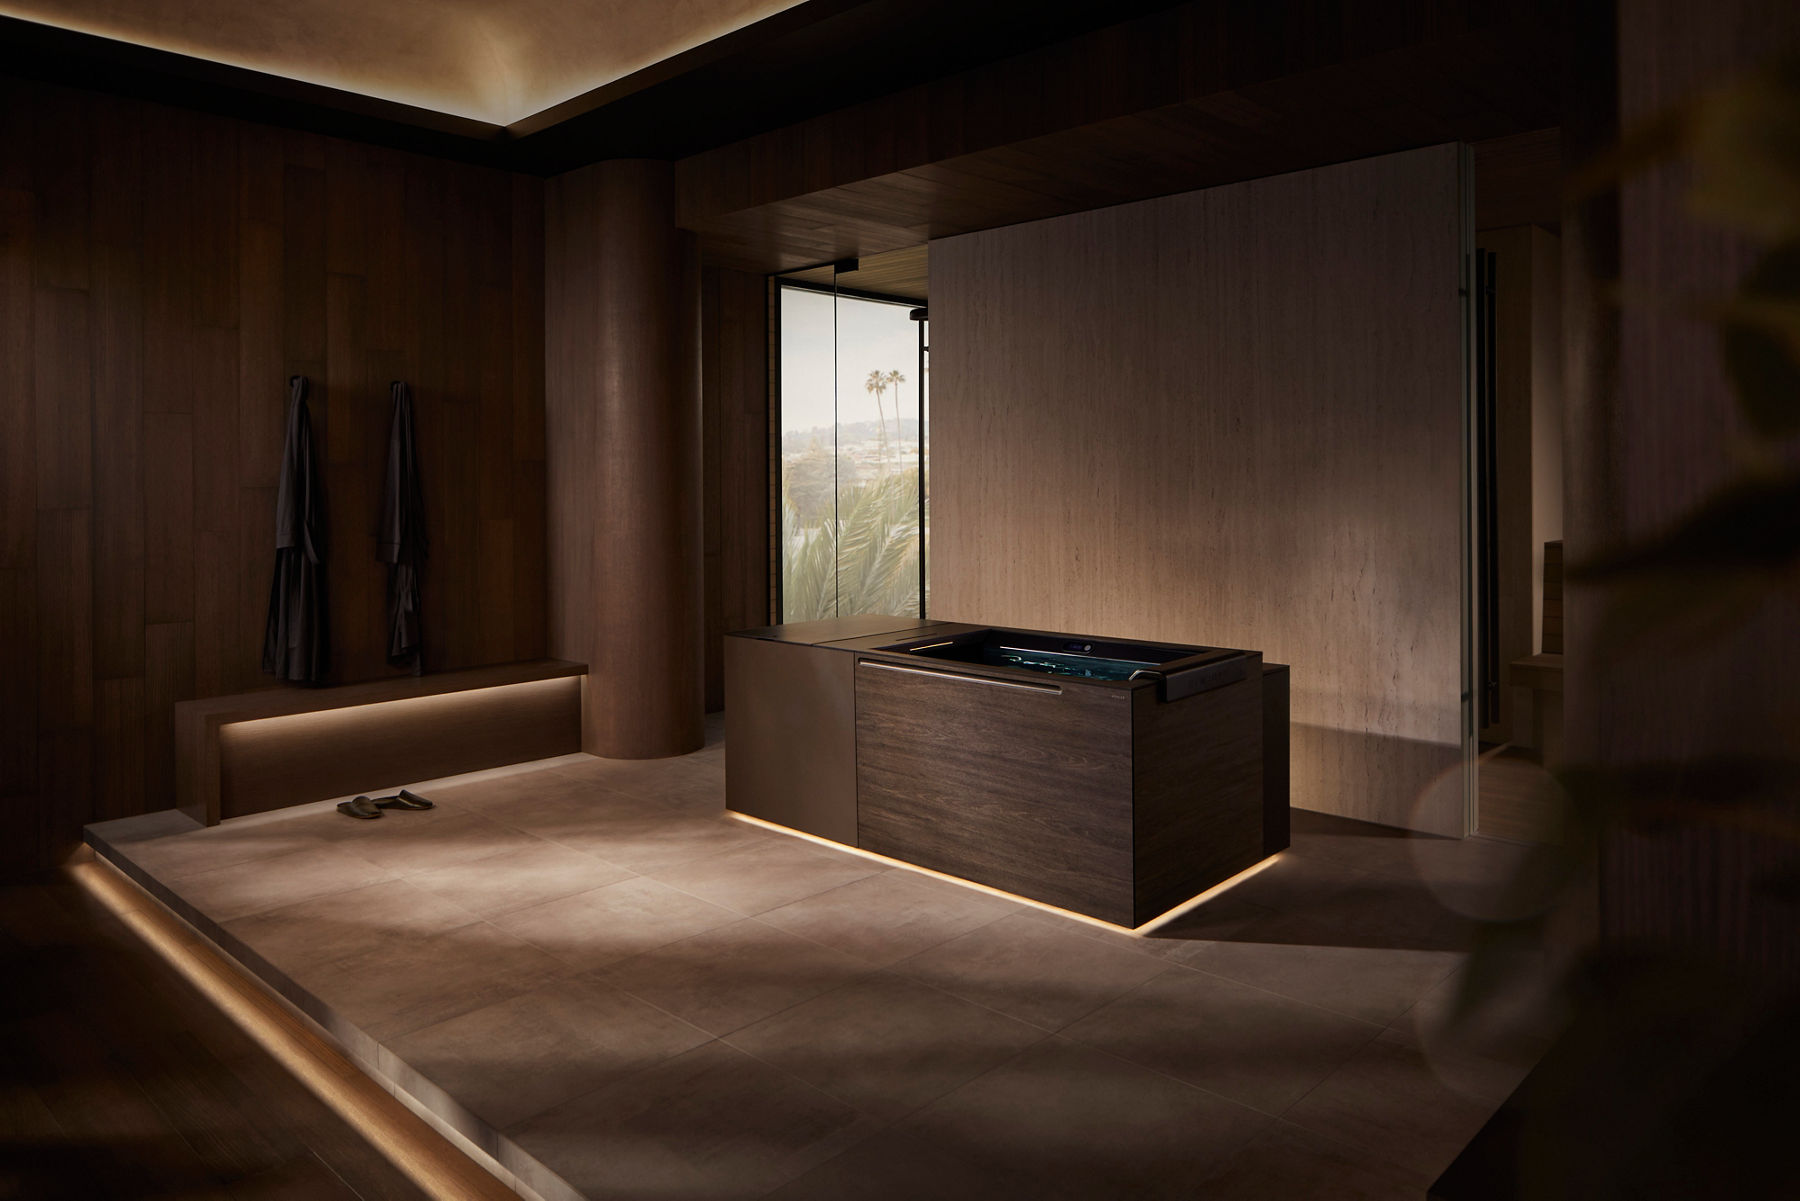
Wellness
Ice Bath
Hydrotherapy Baths
Steam
Shower Rituals
Aromatherapy
Experiences
Ice Bath by KOHLER x Remedy Place
Invigoration® Steam
Shop The Room
Planning and Design
Project Gallery
Design Trends
Collaborations
Explore Color, Material, Finish
How it's Made
Kohler x Arsham
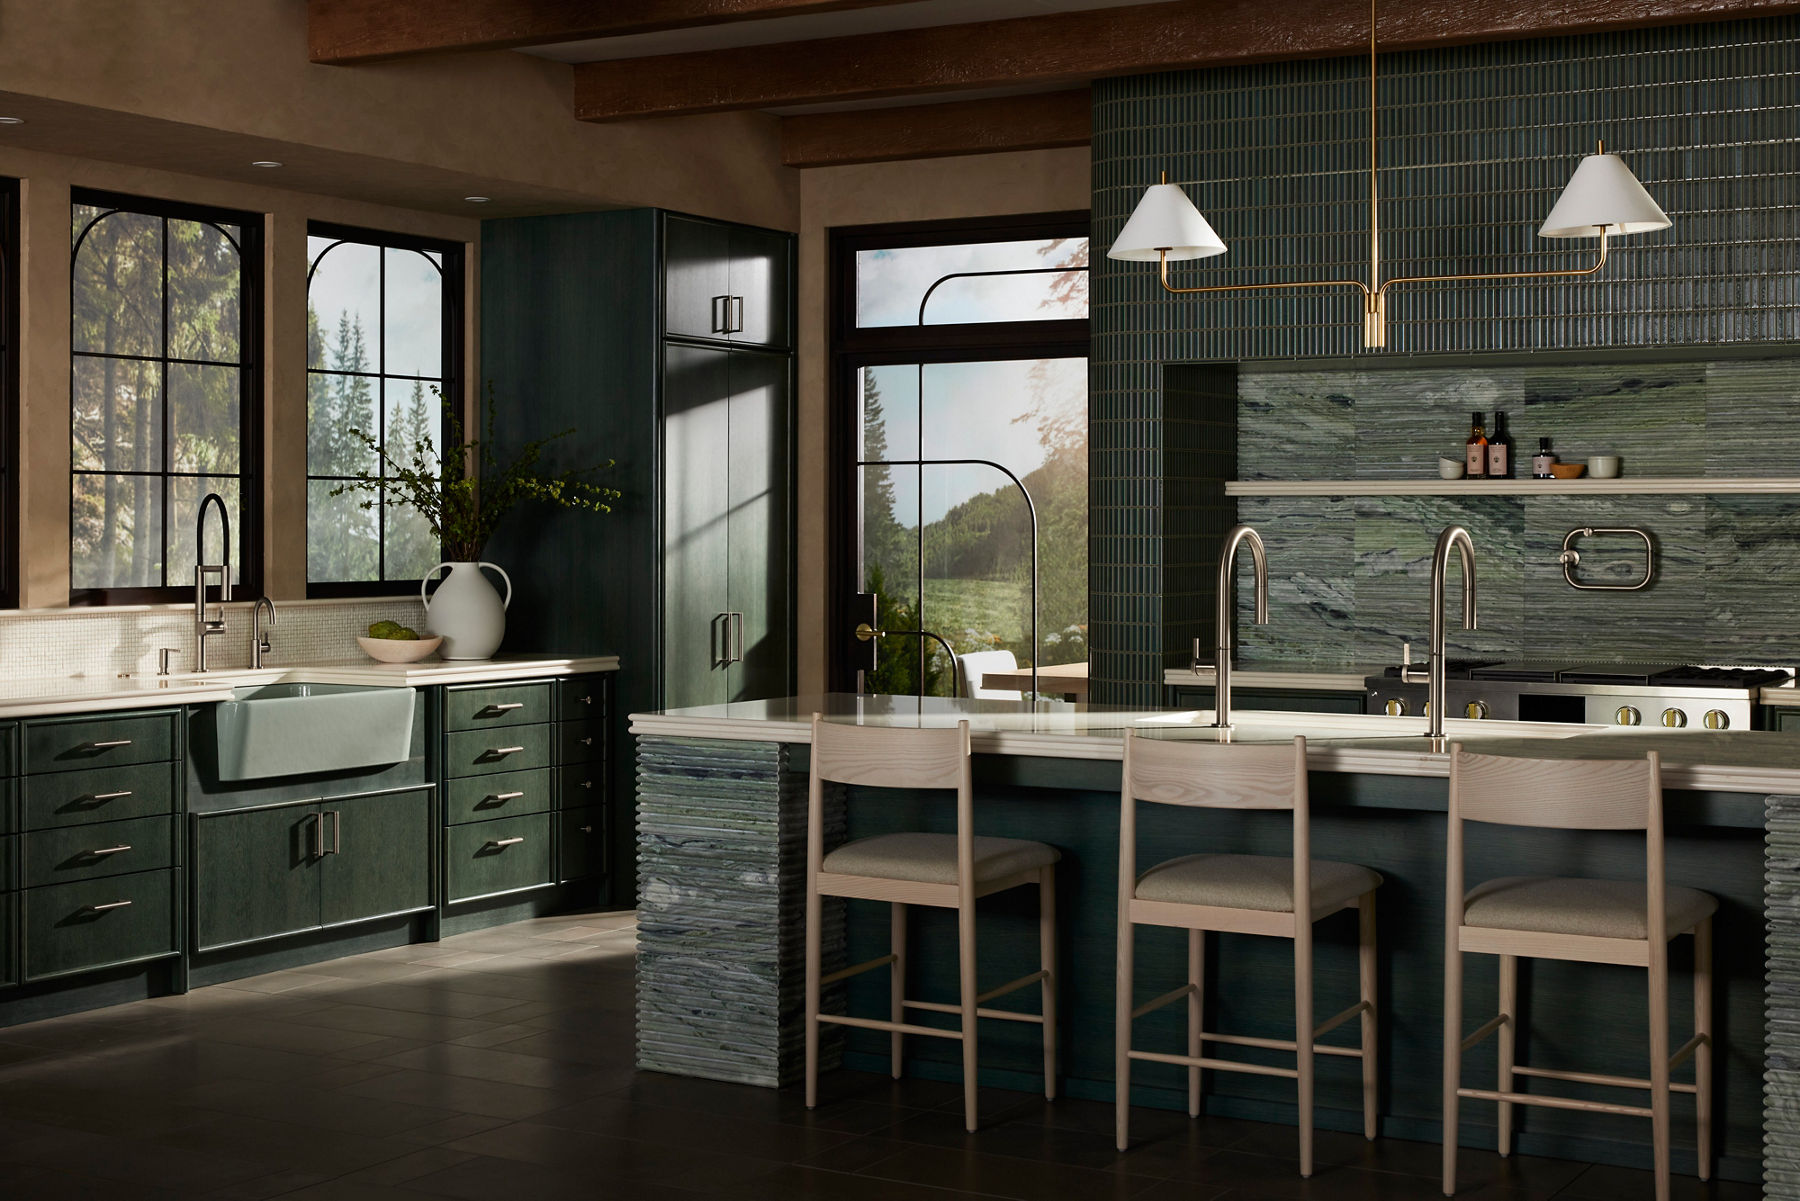
Tiffany Skilling’s Kitchen
All Services
Kohler Bathroom Design
Install Services
Luxstone Showers
Walk-In Baths
Find Local Professionals
Kohler Install Services
Find Service Parts
Customer Service & Support
Troubleshooting
Installation & Specifications
Order Tracking
Product Warranty
Product Registration
Care & Cleaning
Product Buying Guides
Find Your Product with a Photo
Find a Service Part
KBIS 2025
Design Miami 2024
A Solution For Every Pro
Technical Specifications
LEED Certification
Project Case Studies
Training
Literature
Samples
Partner with Kohler
Commercial Bathroom
Coordinated Solutions
Flushometers
Urinals
Faucets
Lavatories & Sinks
Industrial Showers
Fittings
Technical Specs